So, is anyone wondering how to eat their greens like good little humans these days?
“How safe are transported greens?”
“How do you wash them once they get home?”, or
“Screw it, I don’t want to gear up to brave the store at all!”…
You know,… those runaway ponderings and questionable conclusions.
Well we’re going to try an experiment. Let’s see how many of us can get some greens going!
We aren’t going to create the idyllic garden pictured in the title—c’mon guys, times have changed—we’re thrifting!
We thought that this Rubbermaid tub garden idea is perfect to start greens throughout this foolish time of year called April, when temperatures fluctuate wildly from snow squalls to sunshine. The tubs are fairly manageable, they can be moved outside for sun and rain, and brought back inside for cold nights here in Muskoka and Haliburton.
Shout out to our friend Marty who gave us this Sweet idea!
So… we’ll try our best to explain this through photos:
MATERIALS:
- A tub (Rubbermaid are best because they are indestructible, we know this because we destroy tubs)
30 Litre bags of:
- Peat Moss
- Soil-less Mix
- Nutrient Rich soil—Manure or Compost, or Triple Mix
- Sharp Sand (sand from the side of the road which you can flush the salt out of—not play sand).
METHOD:
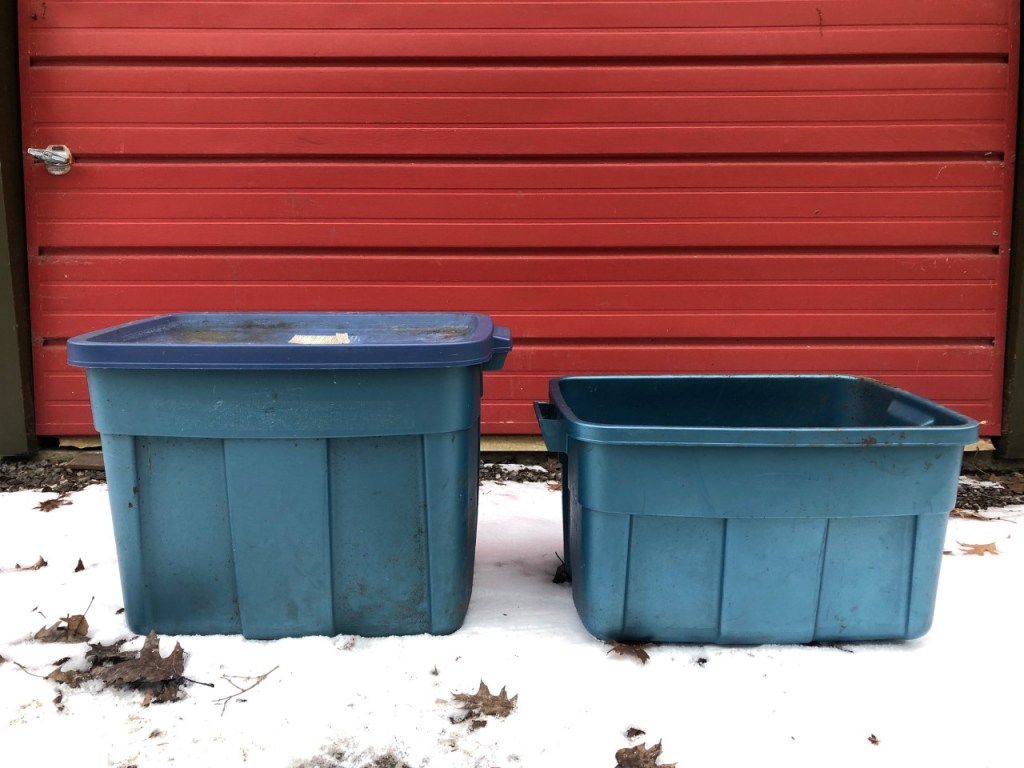
1. Pick a tub size. The smaller tub would be best for greens, the larger could probably produce two determinate tomato plants with decent yield.
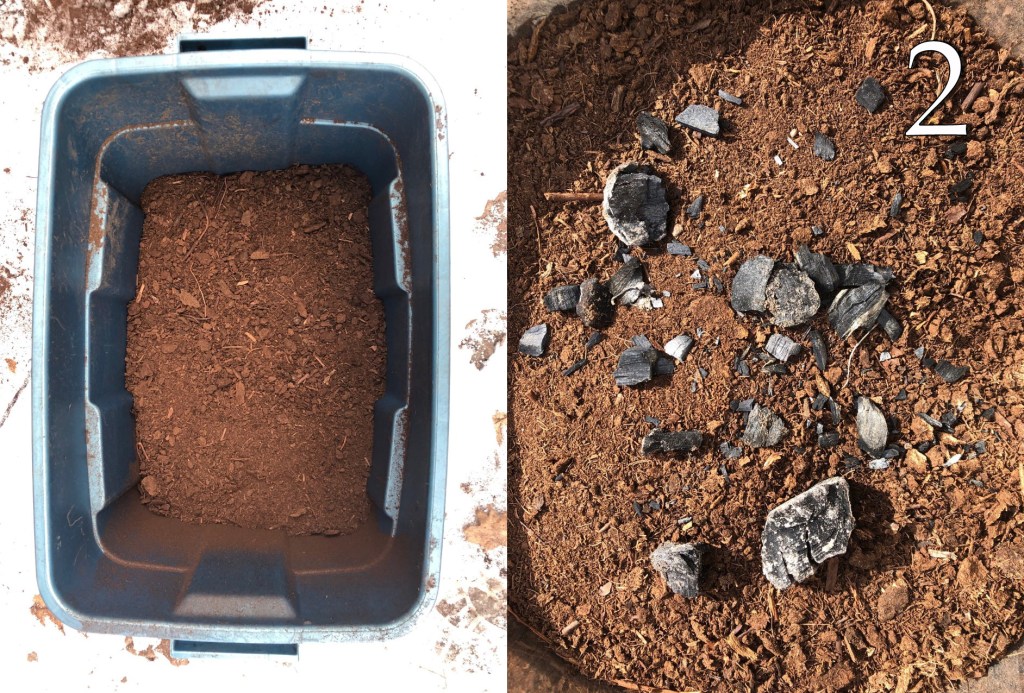
2. Fill ¼ of the tub with peat moss to allow for ‘drainage’ and to hold moisture. * If you want to get fancy and add some carbon chunks in the way of WET charcoal, go at it. Seriously though, soak your charcoal for a couple of days, you don’t want your bin to catch fire, and it will if it is not saturated.

3. Mix together equal parts Soil-less Mix, and your Nutrient Rich choice, throw in a few handfuls of sand, mix well, pour over top of peat moss drainage base.
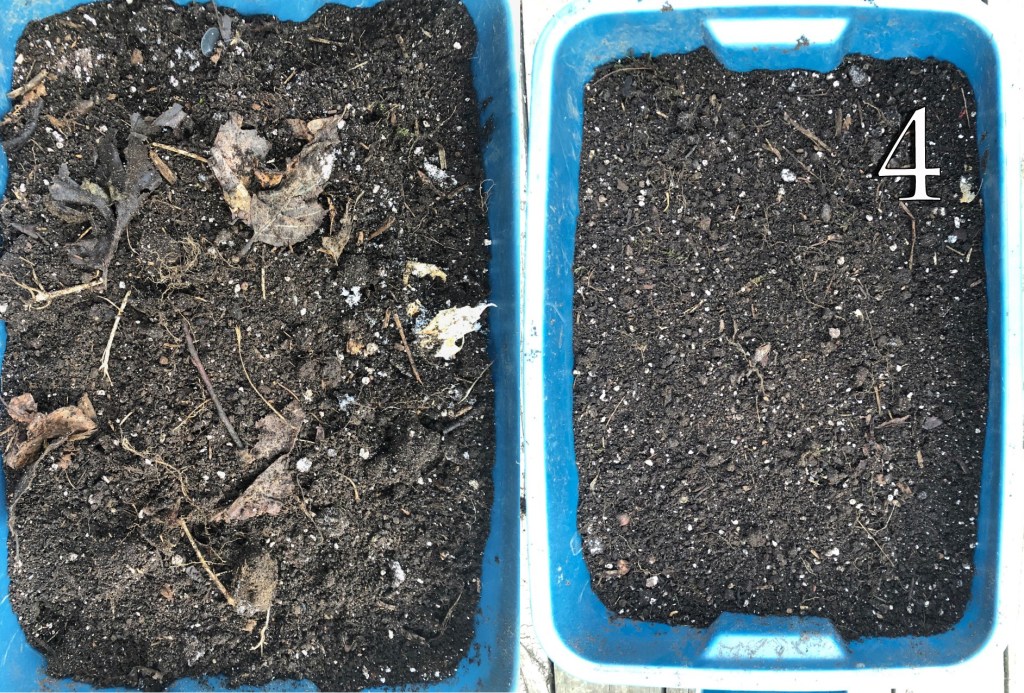
4. Break up clumps and pick out detritus. Pat down gently.
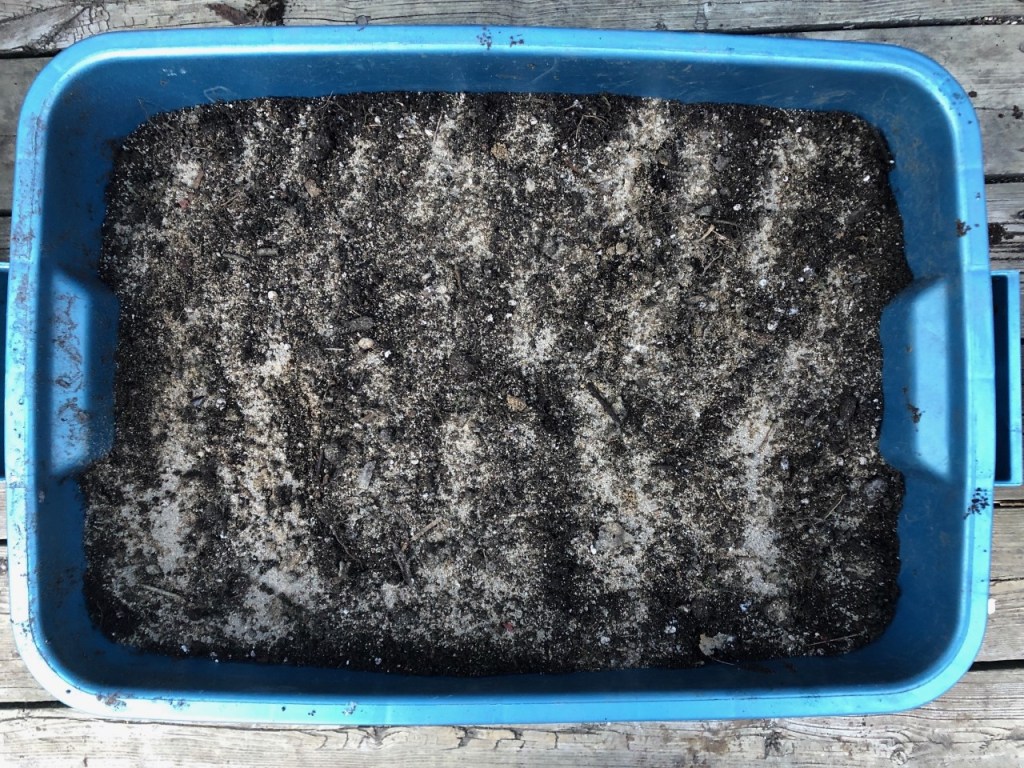
5. Sprinkle a thin base of sand on top of the mix (sand being pure mineral will lend to more efficient ion action within the soil mix and it scrapes the seeds up a bit to stimulate them)

6. Sprinkle your greens of choice (arugula, baby kale, mustard greens, spinach, lettuce, cilantro,… anything you want) on top of the sand. We sprinkled our seeds chaotically and will thin them out to eat, or to plant in other places or tubs, but you can plant rows and label too if you are more organized.

7. Sprinkle a bit more of your soil mix on top then,
8. Sprinkle a bit more sand on top to finish. This kindov keeps the seeds from floating when watering, but still, water with care. A good deep misting would be ideal.

9. Water deeply (with a better watering can than this botch-it can). Misting patiently is your best bet. You want the soil to moisten and allow the peat moss base to soak up some water, but you don’t want your garden to float.
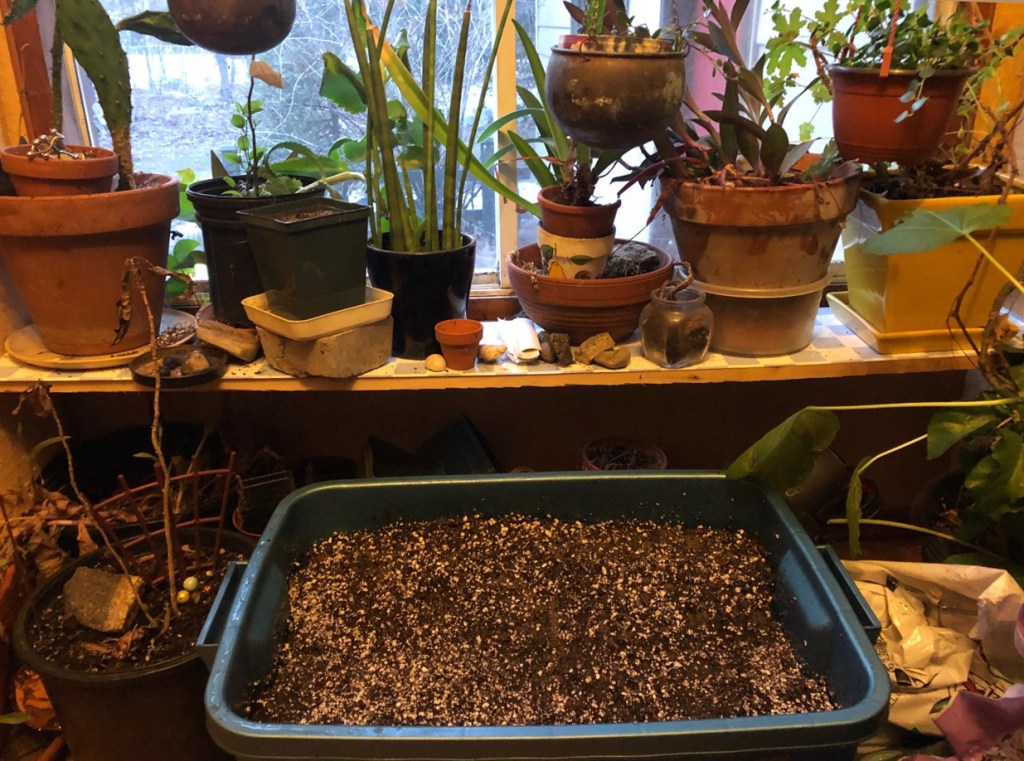
10. We brought our tub into the house and put it beside a heat vent for the first little bit.

11. Get yourself some bubble wrap—it is a wonderful invention! Cover with bubble wrap. This insulates the seeds from wild temperature fluctuations, and it holds in heat and moisture while allowing light to penetrate.

*13. So, “What about drainage?” you might be asking. Well, we’re leaving our tub whole—without holes—BUT we are in complete control of watering. If you want to leave the tub out in the rain, or accidentally leave it out during a downpour, perhaps you will want to sacrifice your tub and drill holes in it just a little bit above the bottom so that the water can still be retained and absorbed rather than run straight through.
Voila! You’ve made a garden container! Hope this works. We’re flying by the seat of our pants these days, this could all be gibberish!
We’ll post our tub on social media as it develops. Good luck!

illustrious! Major Telecom Company Launches Global 6G Trials 2025 awesome
LikeLike